How to Create a Wedding Timeline That Works for Photos
Your wedding day is one of the most important days of your life, and as a Maine wedding photographer, I know how crucial it is to capture every moment perfectly. One of the best ways to ensure your photos turn out stunning is by creating a wedding timeline that works for photos. A well-planned timeline keeps the day running smoothly and lets your photographer capture all the special moments without feeling rushed.
Here’s my step-by-step guide to creating a wedding timeline that ensures beautiful, stress-free photos:
1. Start with the Ceremony Time
The ceremony is the centerpiece of your wedding day, so it’s the best place to start when building your timeline. Work backward from the ceremony time to plan the rest of the day.
Consider the Light: If you’re having an outdoor ceremony in Maine, think about the time of day and lighting. Golden hour (just before sunset) is ideal for soft, romantic lighting.
Buffer Time: Add a 15–30 minute buffer before the ceremony to account for any delays.
2. Allocate Enough Time for Getting Ready Photos
Getting ready photos are some of the most emotional and candid moments of the day. To capture these moments without feeling rushed:
Allow 1.5–2 Hours: This gives your photographer time to capture details like your dress, rings, and shoes, as well as candid moments with your bridal party.
Choose a Well-Lit Space: Natural light is best for these photos, so pick a room with large windows.
Prep Early: Have your dress, shoes, and details ready before the photographer arrives.
3. Schedule Time for a First Look (Optional)
A first look is a private moment where you and your partner see each other before the ceremony. It’s a great way to calm nerves and get beautiful photos.
Allocate 20–30 Minutes: This gives you time to connect and your photographer time to capture genuine reactions.
Plan for Portraits: After the first look, you can take couple portraits, which frees up time later in the day.
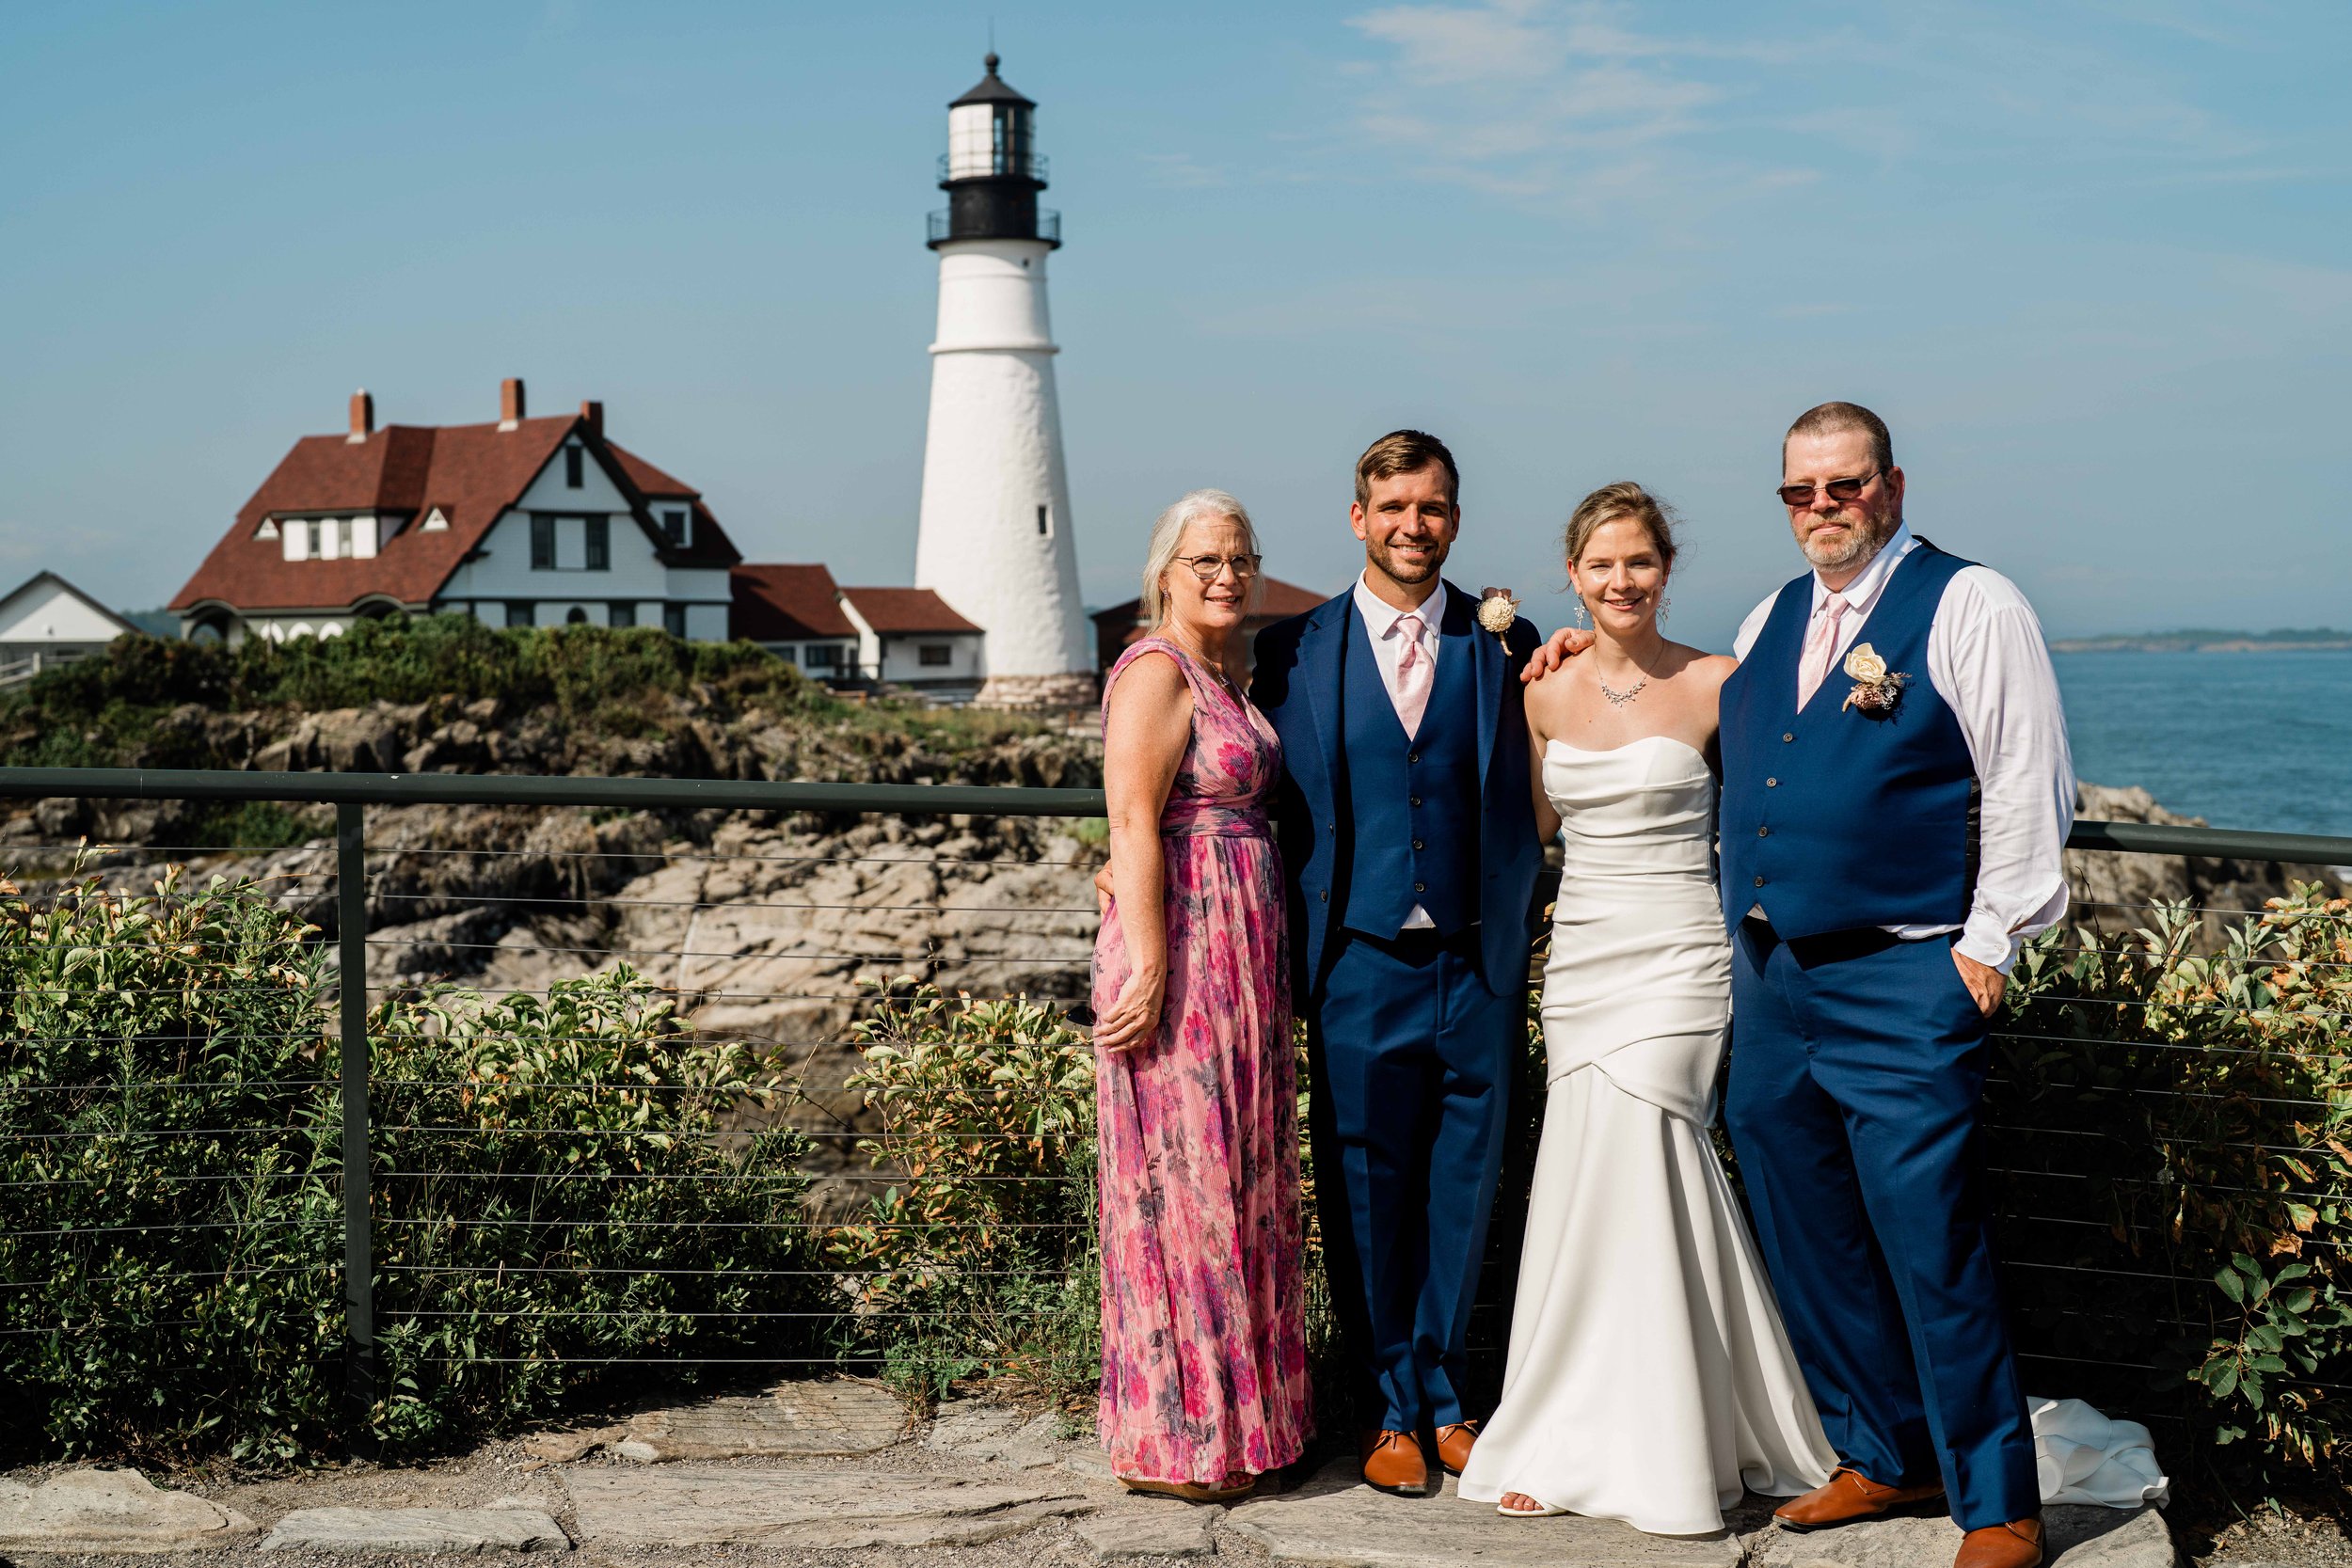
4. Plan for Family and Wedding Party Photos
Family and wedding party photos are essential, but they can take longer than expected. Here’s how to streamline the process:
Create a Shot List: Write down all the family combinations you want (e.g., bride with parents, groom with siblings).
Assign a Helper: Ask a family member or wedding planner to gather people for photos.
Allocate 30–45 Minutes: This ensures you have enough time without feeling rushed.
5. Build in Travel Time
If your ceremony and reception are in different locations, don’t forget to account for travel time.
Factor in Traffic: Maine roads can get busy, especially in popular wedding destinations like Bar Harbor or Kennebunkport.
Add a Buffer: Include an extra 15–20 minutes to account for unexpected delays.
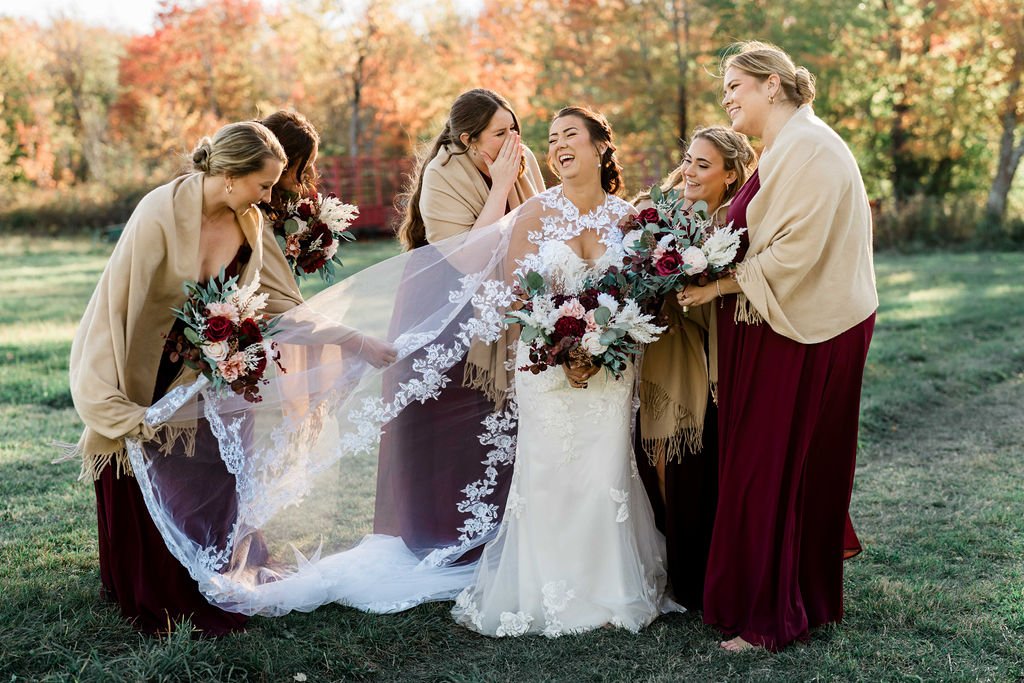
6. Capture Golden Hour Portraits
Golden hour (the hour before sunset) is the best time for romantic, glowing portraits.
Schedule 20–30 Minutes: Sneak away with your partner during cocktail hour for these dreamy photos.
Choose a Scenic Spot: Maine’s coastline, forests, and lighthouses make for stunning backdrops.
7. Don’t Forget Reception Details
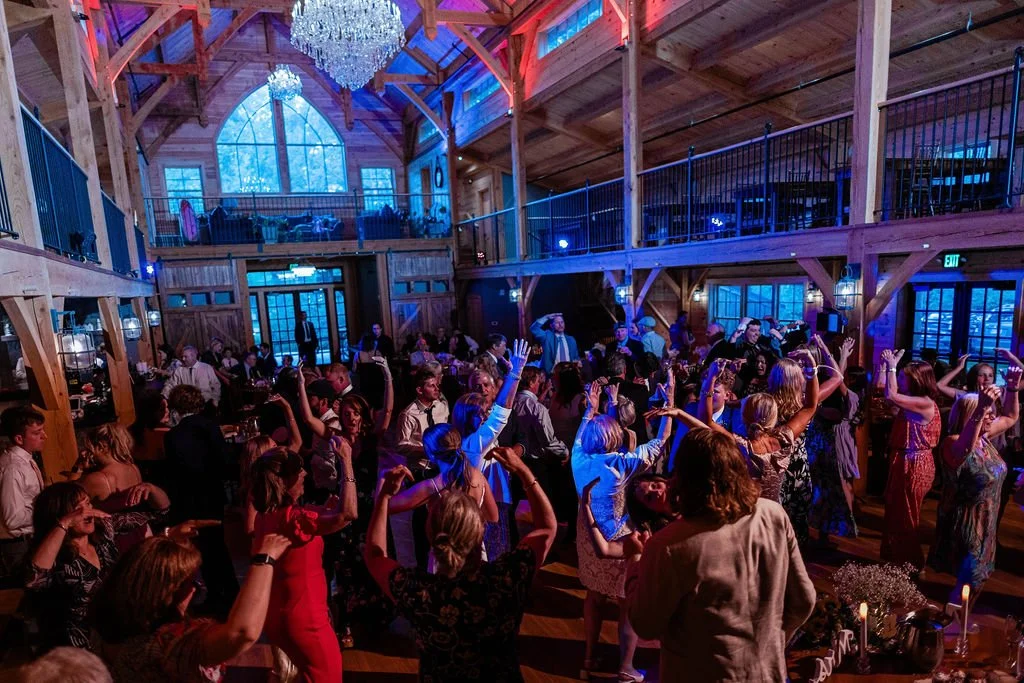
Your reception is full of memorable moments, from your first dance to the cake cutting.
Plan Key Events: Work with your photographer to schedule important moments like toasts, dances, and the bouquet toss.
Capture the Decor: Allow time for your photographer to take detail shots of the reception setup before guests arrive.
8. End with a Sparkler Exit or Night Portraits
If you’re planning a sparkler exit or nighttime portraits, make sure your timeline includes time for these fun shots.
Allocate 10–15 Minutes: This ensures your photographer can capture the magic without keeping guests waiting.
Sample Wedding Timeline for Photos
Here’s an example of a wedding timeline that works for photos:
1:00 PM: Photographer arrives for getting ready photos
2:30 PM: First look and couple portraits
3:00 PM: Wedding party photos
3:30 PM: Family photos
4:00 PM: Ceremony
4:45 PM: Cocktail hour (photographer captures candid moments)
5:30 PM: Golden hour portraits
6:00 PM: Reception begins
8:00 PM: Cake cutting and first dance
9:00 PM: Sparkler exit or night portraits
Final Tips for a Stress-Free Timeline
Communicate with Your Photographer: Share your timeline with your photographer and get their input. They’ll know how much time is needed for each part of the day.
Be Flexible: Allow some wiggle room in case things run behind schedule.
Enjoy the Moment: A well-planned timeline ensures you can relax and savor every moment of your wedding day.
By following these tips, you’ll create a wedding timeline that not only works for photos but also keeps your day running smoothly. As a Maine wedding photographer, my goal is to capture your day beautifully while ensuring you have the best experience possible. If you’re planning a wedding in Maine and need help with your timeline, feel free to reach out—I’d love to help!


